Prerequsities
Shell access on Ubuntu 16.04 Sudo proviledged account access
Step 1 – Install PHP and Apache
The Zend Framework required PHP 5.6 or higher version to run. So make sure you have installed proper PHP version. To install PHP and Apache2 on Ubuntu 16.04 system follows the below commands.
Step 2 – Install PHP Composer
Now, As you have installed PHP, now install PHP Composer on your system using the following set of commands. This is the simple instruction to download the composer binary file and place it under the bin directory.
Step 3 – Install Zend Framework
You can install the Zend framework in multiple ways. But the Composer is the easiest way for the installation of Zend. Create a directory for your a The above command may time some time as per your network speed. Also, this will ask for some user input. Read the instructions and provide inputs.
Step 4 – Start Web Server
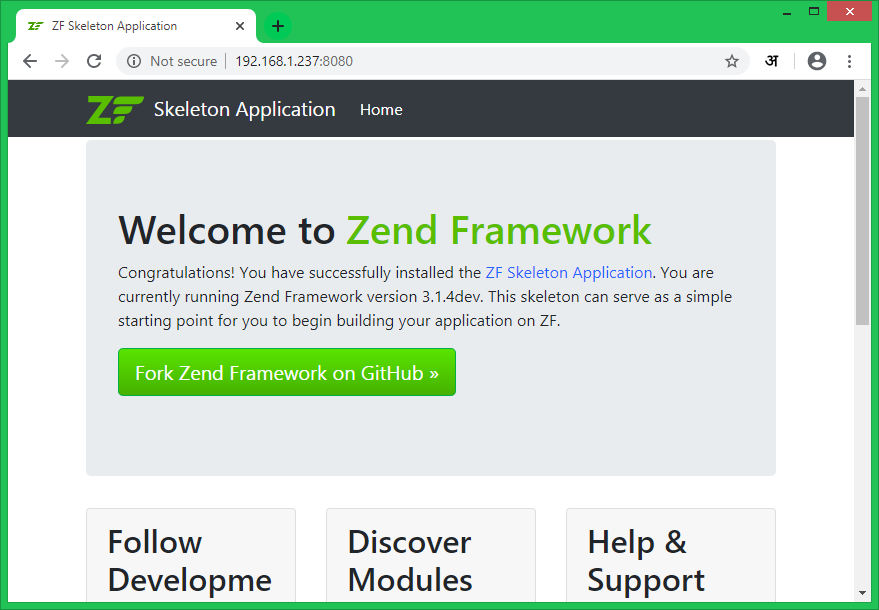
The following command will start a PHP-CLI web server. This is useful for temporarily testing and helpful for development purposes. Now access http://localhost:8080 in a web browser. Also, you can access it with the system IP address.
Step 5 – Configure Apache Server
In the above step, you have directly run an application with PHP CLI. You can also host the Zend application with Apache, which is required to set up the staging and production environment. Let’s configure the Zend Framework as a web application with Apache2. Create a configuration file in the Apache for the Zend installation. Add the following content in the file. Make the necessary changes as per your directory structure and server name
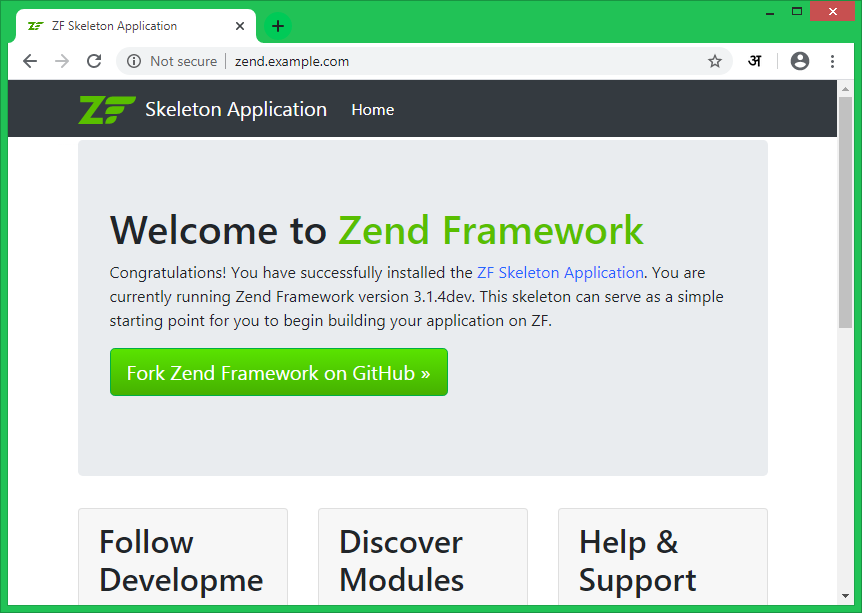
Now enable the newly created website with the following command. Also, make sure you have rewrite modules enabled in Apache. Now you can access the Zend application with the configured domain in Apache.
Conclusion
All done! you have installed the Zend framework and created an application on your Ubuntu 16.04 system. Let’s enjoy development with Zend Framework.

